Your cart is currently empty!
Checkout is not available whilst your cart is empty—please take a look through our store and come back when you're ready to place an order.

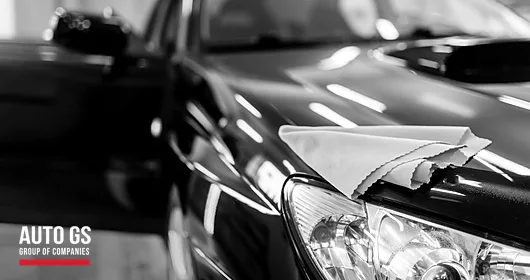
Over time, dust, sunlight, harsh weather conditions, and everyday use can cause your car’s paintwork to lose its shine and look dull and worn. Proper polishing can significantly improve your vehicle’s appearance, restoring its original shine and giving it a fresh, well-maintained look.
If you’re wondering how to polish your car without having to visit a professional every time, you’re in the right place. With Auto GS, polishing your car at home can be a simple and enjoyable experience.
The key to achieving the best possible results is proper preparation. Car polishing doesn’t start when you open a container of car wax. It begins with a thorough wash and finishes with the right products, careful application, and a little patience.
Let’s walk through the process step by step.
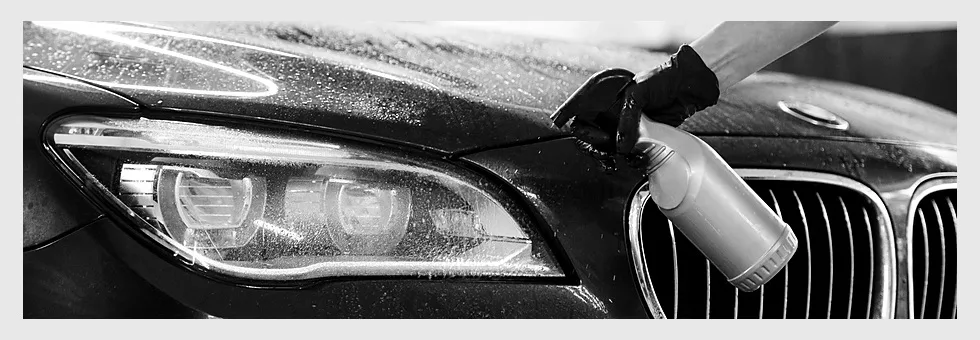
You don’t need an entire collection of detailing products to achieve the desired result. You only need a few essentials, such as car shampoo or cleaner, soft cloths, a polishing or waxing product, and a few suitable car cleaning accessories.
And one more thing.
Don’t rush the process. Choose a shaded area and make sure the car is not exposed to direct sunlight. This will give you more time to work on each surface without the products drying too quickly.
Before starting any polishing process, it is essential that the vehicle is completely clean. Dust, mud, insect residue, and other contaminants can affect the final result and, if left on the surface, may cause additional marks during polishing.
With this in mind, start by rinsing the car thoroughly and then use a dedicated car shampoo. Work from the upper sections downwards, while avoiding common household cleaning products, as they can be too harsh on the paintwork and protective coatings.
For more demanding applications or for those who regularly take care of their vehicles, we recommend our range of professional car cleaners, offering various options for different cleaning needs.
Recommended products:
After washing, avoid simply allowing the car to air-dry. Water droplets can leave marks on the paintwork, which may become even more noticeable once the polishing process begins.
Use a clean and highly absorbent microfibre towel and work section by section, without applying excessive pressure or rubbing continuously. Start from the roof and work your way down towards the lower areas of the bodywork, making sure that no moisture remains around mirrors, door handles, and joints.
Now is the right time to take a closer look at your vehicle’s paintwork. Inspect it from different angles and, if possible, under good natural lighting.
Are there dull areas? Minor surface imperfections? Sections that have lost more of their shine?
Not every area needs to be treated with the same intensity. In many cases, what initially looks like a scratch may simply be a superficial mark or residue. On the other hand, a deep scratch that has penetrated below the clear coat cannot be removed simply by applying more pressure or polishing more aggressively.
That is why, before using any car scratch removal polish or other detailing product, it is worth first identifying exactly what you are trying to correct. Proper assessment helps avoid unnecessary repetition and excessive product application.
There is no single product that will deliver the same results for every vehicle and every situation. The approach is different when the paintwork has simply lost some of its shine compared with when you want to complete the detailing process with a glossier and more protected finish.
Before making your choice, read the instructions carefully and check which surfaces the product is designed for. Some products are mainly intended for final polishing, while others combine shine and protection. It is also a good idea to always start with a small amount. Using more product does not necessarily mean achieving a better result.
If you are unsure, test the product first on a small and less visible area. This allows you to see how the surface responds before continuing with the rest of the bodywork.
Recommended products:

Hand polishing your car can deliver excellent results, provided that you work gradually and avoid applying excessive pressure. Instead of trying to cover the entire bodywork at once, divide it into smaller sections, such as the bonnet, doors, fenders, and boot.
Apply a small amount of polishing product to a clean cloth or application pad and spread it evenly over the surface, always following the product’s instructions. Work with steady, controlled movements and avoid vigorous rubbing. After all, using more pressure or a larger amount of product does not necessarily mean achieving a better result.
Ideally, polishing should be carried out in a shaded area and on bodywork that has not become overheated by direct sunlight. This will give you enough time to work the product properly across the vehicle’s surface.
If you have a car polisher, the same process can be carried out mechanically, reducing the amount of manual work required and making the process easier. In this case, however, greater care is needed regarding the machine’s speed and the amount of pressure applied, so as not to damage or excessively wear the vehicle’s clear coat or paintwork.
Once you have followed the application time indicated on the product, use a clean microfibre cloth to remove any remaining residue and bring out the shine.
Inspect the car from different angles. Light can easily reveal areas where product residue remains or where the finish is uneven. If necessary, gently go over only the specific area that needs additional attention.
The final stage is what brings the entire process together. Applying a suitable wax provides the finishing touch and helps keep the exterior surface looking well-maintained.
There is no need to continuously apply large amounts of product. Correct and even application is key to achieving the desired finish. After all, when it comes to ongoing car care, consistency is more important than carrying out an excessively intensive polishing process at long intervals.

The dashboard is another area that deserves regular attention. Dust, fingerprints, and everyday use can gradually make its surface look dull or neglected. The good news is that keeping your dashboard clean and well-maintained does not require a complicated process.
Start by removing dust with a soft microfibre cloth, paying particular attention to the edges, air vents, and other areas where dust tends to accumulate. Then, use a suitable dashboard cleaner or interior detailing product, following the manufacturer’s instructions.
Apply the product to the cloth rather than directly onto the dashboard, especially around electronic components, screens, buttons, and other sensitive areas. Work gently and evenly, and avoid using excessive amounts of product.
For the best results, choose products specifically designed for automotive interiors. They can help clean and maintain the dashboard while preserving its appearance without leaving an unnecessarily greasy or slippery finish.
As with exterior polishing, regular and careful maintenance is the best way to keep your car’s interior looking clean and well cared for.
The shine, however, does not stop at the exterior. A clean and well-maintained dashboard can immediately enhance the overall look of the cabin, provided that you use a product specifically designed for these types of plastic surfaces.
The process is simple:
As with the previous steps, the key is using the right amount of product. The goal is for the dashboard to look clean and well-maintained, without excessive shine, which can quickly become visually tiring and may also create unwanted reflections.
Once you have finished cleaning the interior, one small detail can make a difference to the overall feel of the cabin. Car air fresheners can create a fresh and pleasant atmosphere during everyday driving.

If you are looking for the best car polish, there is no single answer that works for every situation. You may need one product for a quick refresh after washing, while another may be more suitable when you want to complete the process with wax and place greater emphasis on the final finish.
For regular maintenance, Feral Detailing Pro Polishing Shampoo is a practical starting point. If you want to combine washing and waxing, Feral Car Shampoo with Wax is designed for this purpose. For the final stage, options such as Feral Express Polishing Wax or Motip Polishing Wax can be incorporated into your routine after thoroughly cleaning the vehicle.
Before choosing a product, therefore, consider what you want to achieve. Everyday maintenance? More shine? A final finish with added protection? The right product is the one that meets the specific needs of the surface and is used correctly.
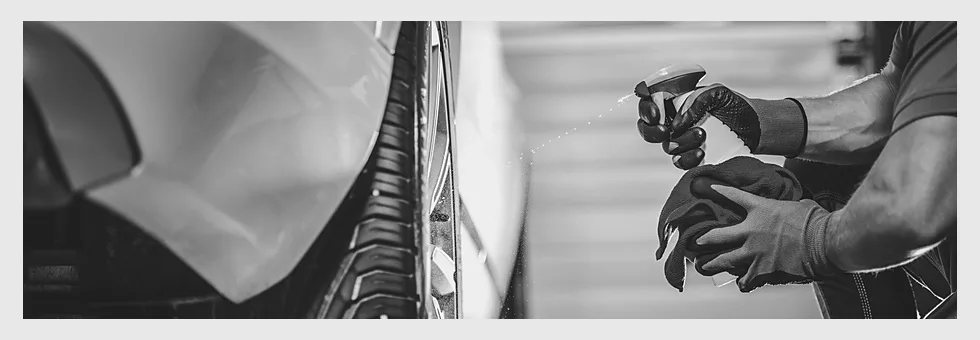
Polishing your car doesn’t have to be a complicated process. A thorough wash, proper drying, careful application, and the right products are enough to make a noticeable difference to your vehicle’s appearance.
AUTO GS, with extensive experience in the automotive sector and a focus on solutions that meet the real needs of every driver, is a reliable choice for those who want to take proper care of their vehicle. From cleaning and car care products to more specialised solutions, such as technical sprays for maintenance tasks, you can find the products that best suit your car’s needs.
Because, in the end, achieving a great result doesn’t require excess. It requires consistency, the right tools, and a little extra care.
Stay up to date with the latest news and offers from us!

Learn how to clean your car inside and out, which products you need, the correct steps to follow, and the most common mistakes to avoid.

We invite you to join us at Automechanika Frankfurt 2026, the leading meeting place for professionals in the automotive aftermarket industry, taking place from 8–12 September 2026. 📍 Find us at Hall 3.1 – Stand F64 📧 Contact us at sales@feral.gr to arrange a personal meeting with our team!